Building a Medieval Lute
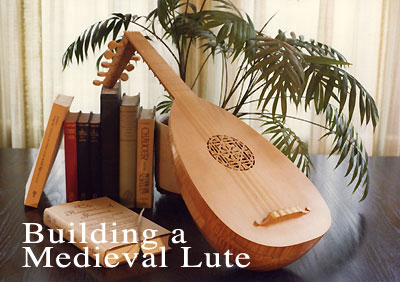
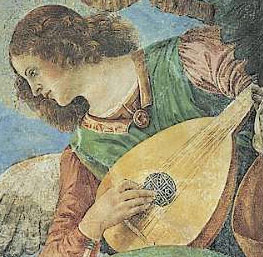
 The lute shown above is a five-course Medieval lute. I also build this model with six courses as a late Medieval or early Renaissance lute. My model is from the Hans Memling alterpiece, shown at the right. I particularly like the rounded body and the use of all light colored woods. The joint between the fingerboard and soundboard was a simple straight line. The pointed "beard" and dark fingerboard was a later Renaissance development.
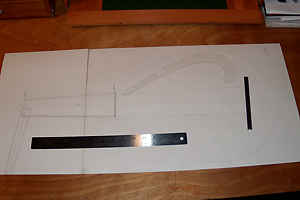 I start with a scale drawing on a stiff piece of paper. The string length and the distance between string centers at the fretnut and at the bridge are drawn to scale. This gives the width of the fingerboard. At this point, I decide where I want the body to intersect the neck, based on the number of frets that I want tied on the neck and the number of frets glued on the belly. I prefer a minimum of 8 frets on the neck. Nine is better. Sometimes I want the tenth fret at exactly the neck/body joint. These proportions are based on a study of historical instruments.
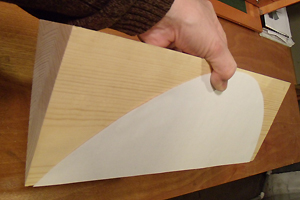
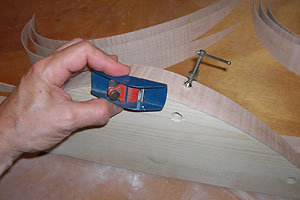
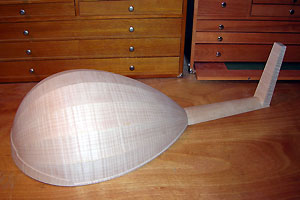
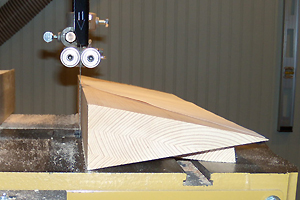 Speed tip! For a nine-rib lute I make a 20-degree wedge and glue the lute shape to it, then cut it out on a bandsaw. Note how the wedge is held with a wooden riser so the flat side is parallel with the blade. This keeps the same angle on both sides of the rib. A lute with more ribs requires simple division to determine the angle.
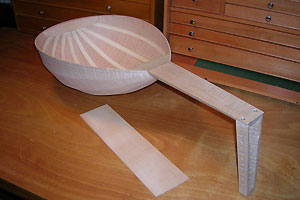
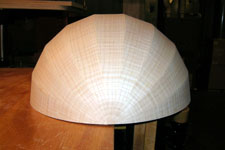 My ribs are cut out and bent as shown in the photos on the Baroque Guitar Making page. For lute ribs, I trim them against a form to get exactly the right angle for gluing two ribs together with no visible joint. This also creates nearly perfect and very strong joints between the ribs. I've seen enough museum lutes and x-rays of museum lutes to think that the old makers were not nearly so fastidious or accurate. Old lute bodies seem to have been thrown together hurridly. Oud shops in Istanbul can turn out five Ouds in three days with only one or two workers. But in the 17th century, there were many repair shops in every town. Modern makers like to build for longevity.
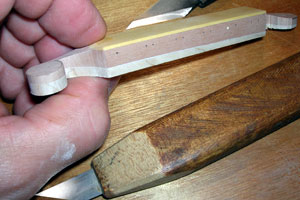
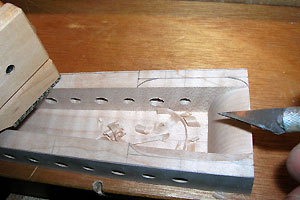
The lute bridge is carved from a piece of Swiss Pear and capped with a thin piece of English boxwood. The bridge is made with a removable wedge underneath in order to create a precise angle. The treble end of the bridge will be slightly lower than the bass end. This is a Renaissance refinement--we don't know if Medieval lute makers did this or not, but since this particular lute had six courses instead of five, it is really a late Medieval, early Renaissance lute.
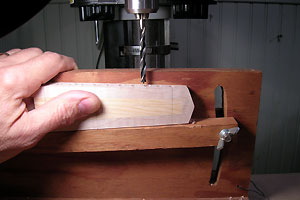
The pegbox is cut from the same wood as the body and neck in order to achieve a matching figure and color. At left, a chamfer is being cut to let the strings pass easily into the pegbox. At right, holes are being drilled for the pegs on a fixture that holds the pegbox at the precise angle required to keep the pegs parallel to the fretnut.
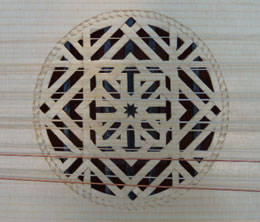
I chose a rosette with four-fold symmetry, which is often seen in medieval inconography. This painting by Melozzo da Forli, c. 1480, is now in the Vatican Museum (Pinsocoteca), and depicts a common medieval rose design. Later Renaissance lutes would typically have roses with six or eight-fold symmetry.
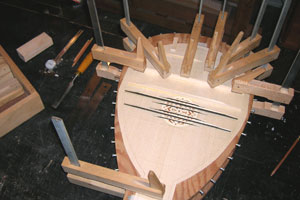
In the absense of extant medieval lutes, I had to guess at a bracing pattern. I simply took a Renaissance lute bracing pattern and dropped two of the braces. This made sense because this lute body is a bit smaller than the average Renaissance lute. I like to dye the braces underneath the rosette black so they can't be easily seen from the top.
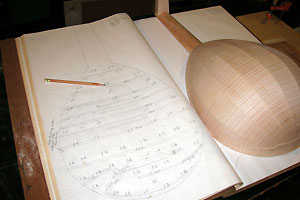
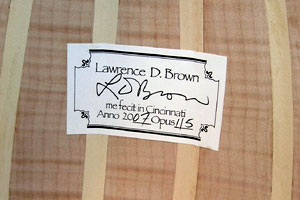
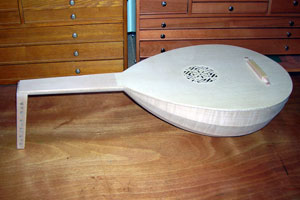
Every instrument that I build is mapped. I create a drawing showing soundboard thickness at many different points, bracing pattern, height and thickness of braces, type of wood, and so on. This allows me to duplicate an instrument that has a particularly pleasing sound. At right is my label glued into the body.
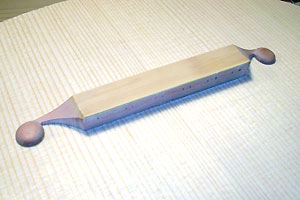
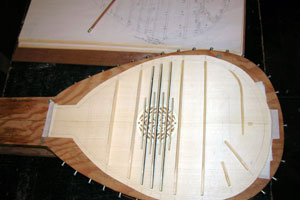
The lute is nearly finished. At right the fingerboard waits to be glued on. I chose a piece of maple that is the same color as the soundboard, since this seems to be the way the medieval lute is most commonly depicted in medieval inconography.
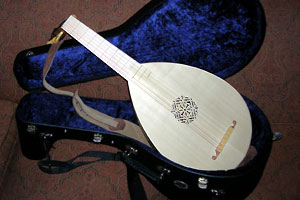
The lute with the soundboard and fingerboard glued on. At right is the finished instrument. My cases are custom made to fit my instruments by Kingham MTM Cases Ltd in England. I send a drawing of the instrument with dimensions and they build a case to an exact fit.